So, the usual mess is when I start a new project, and my work table is one big mess of things that I think I need, and my wife comes home and think that I joined some cult that praise wires.
Anyway, in this post I’ll lay out all the components and software functions and will try to work my way form there.
Note – none of the links or products are affiliated.
Note2 – if you are going to fully follow the build, make sure to use the exact parts so they will fit in the PCB and enclosure.
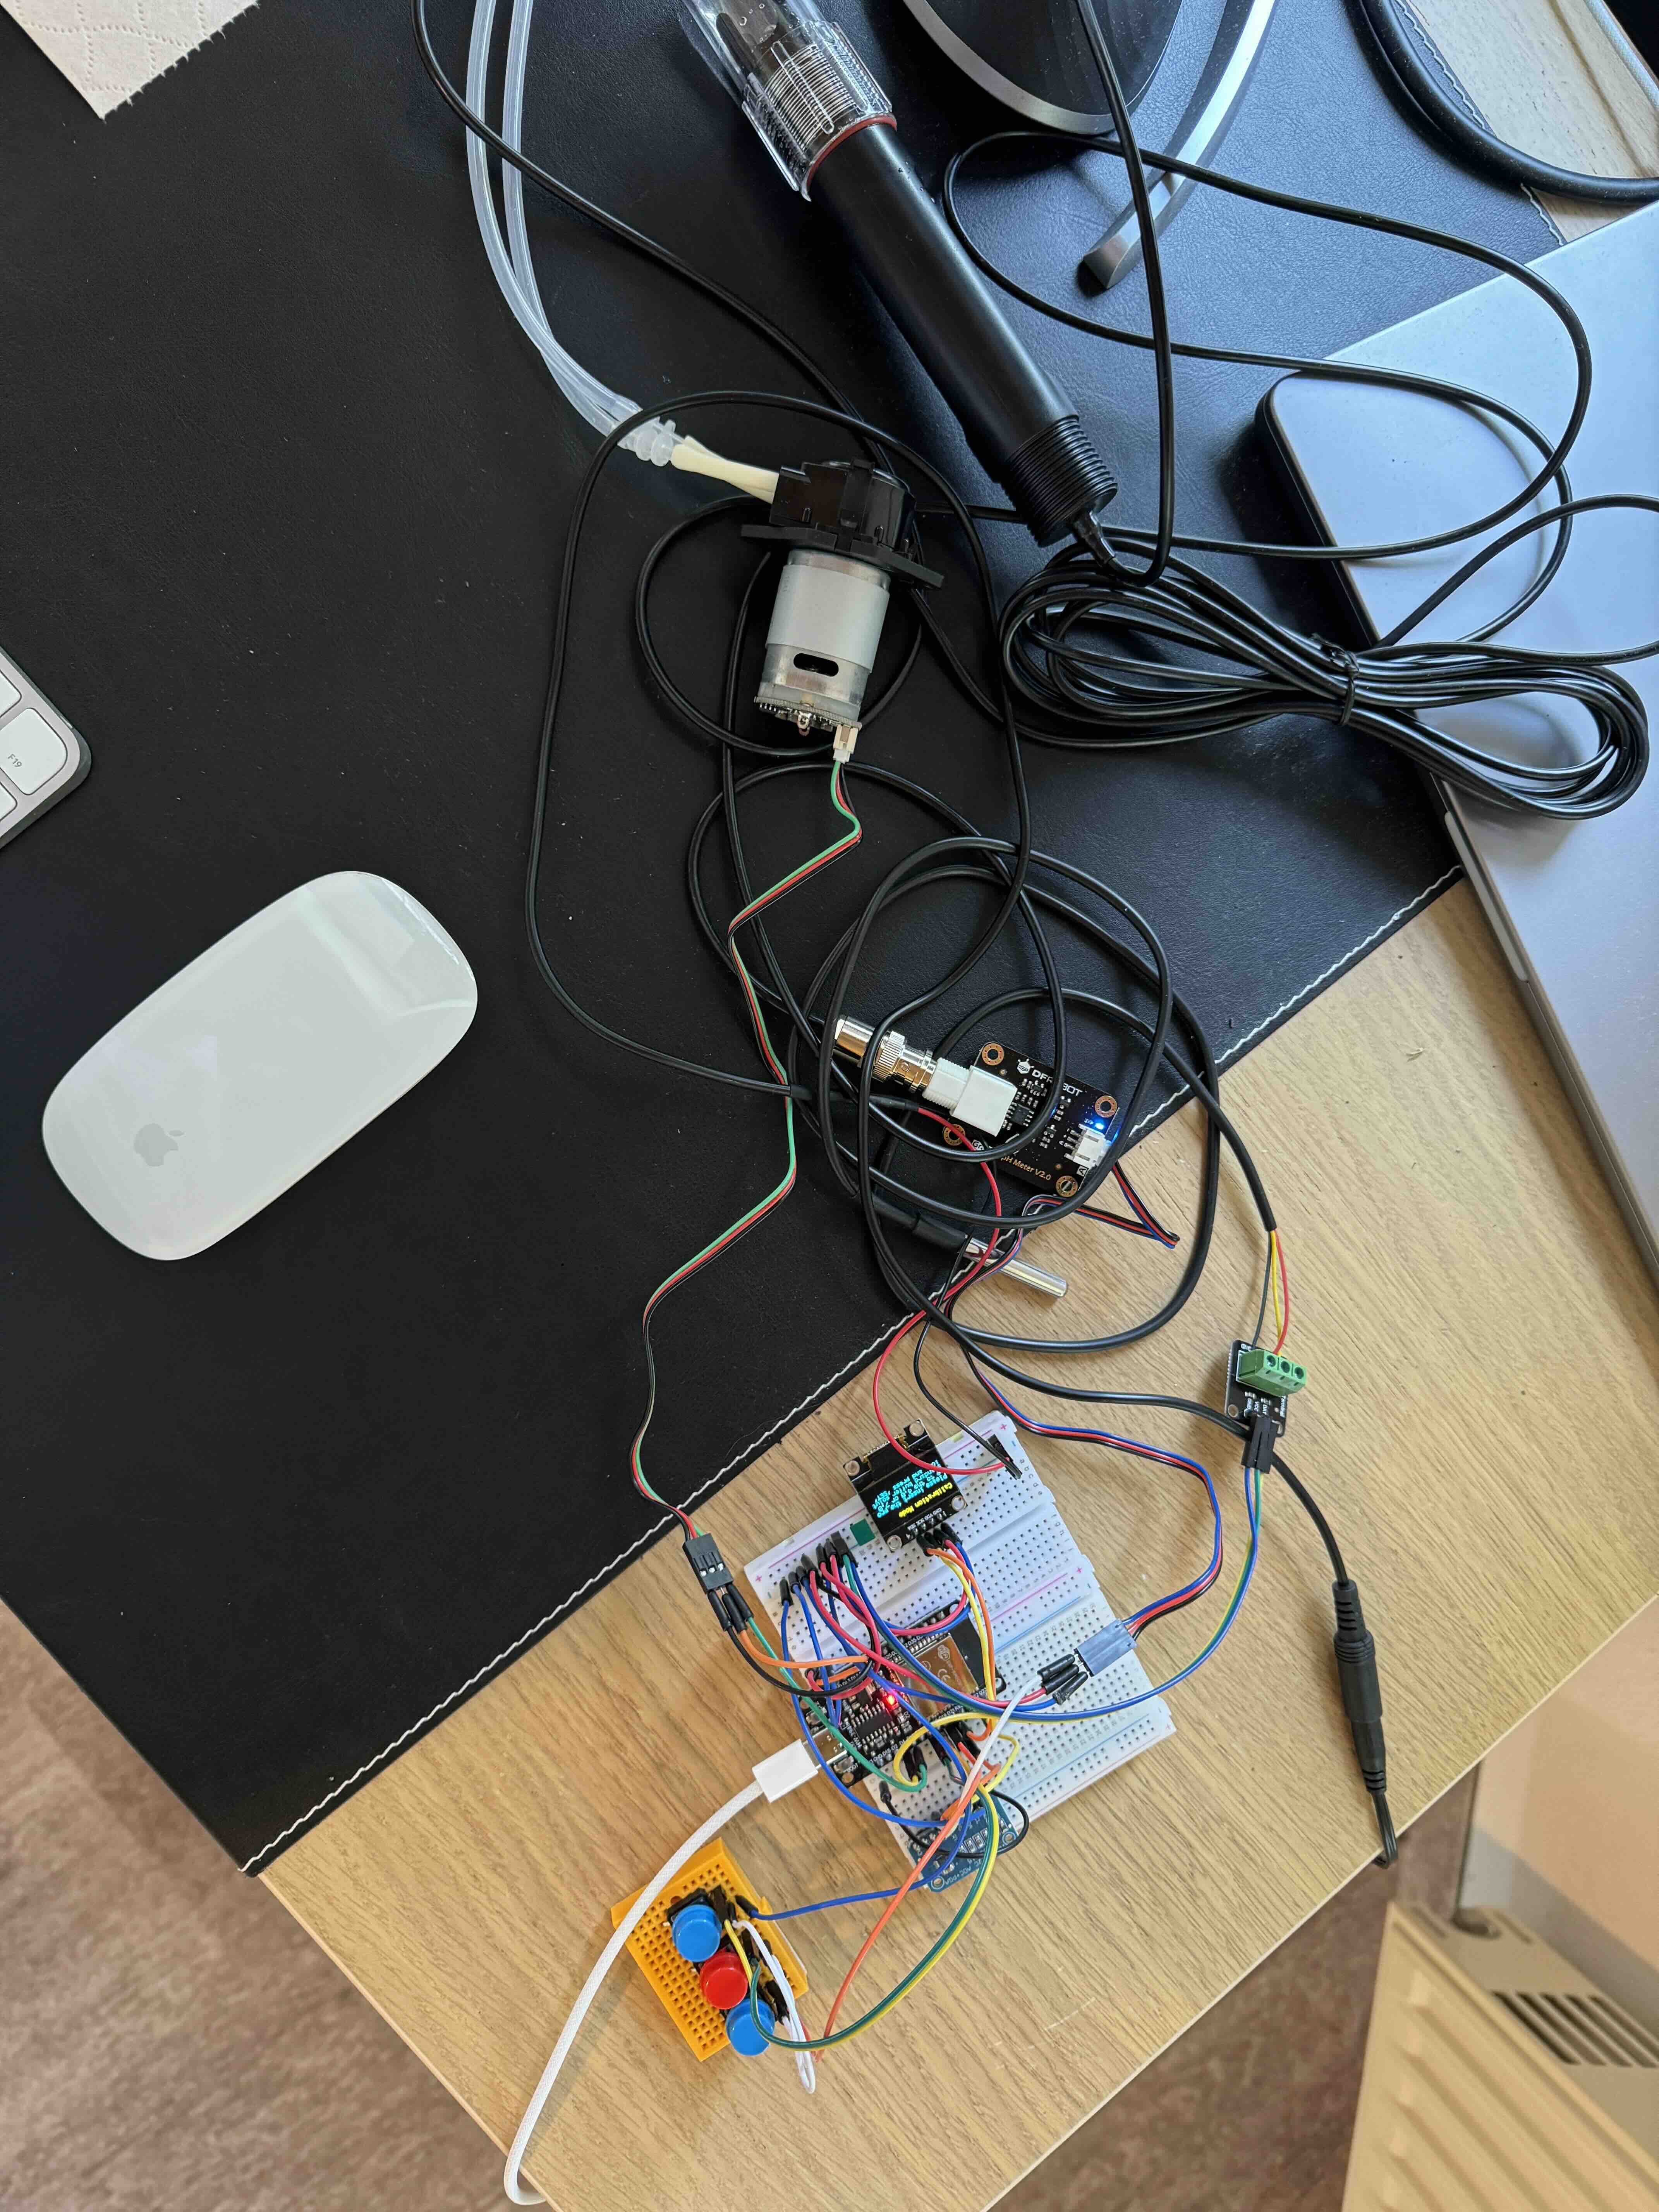
Our main components for the smart pH controller are:
- An ESP32 microcontroller, or any of your favorite controller. The reason I chose it is because we’re going to work with an OLED screen that requires a bit of memory so Arduino for example will not cut it. Also, maybe in the future I will integrate it with HomeAssistant or build an app for it so Wi-Fi/Bluetooth support is always good to have.
- An 0.96” 128x64 OLED screen so we can see what’s what.
- 3 buttons, the ugliest the better.
- Analog pH meter, a lab grade one because we’re going to submerge it in water 24/7, and we also want accurate readings. Make sure to look for a local supplier first so you can maybe save on shipping.
- Digital Peristaltic pump, that will dose the pH down solution from a container to your water reservoir. Again, make sure to look for a local supplier first so you can maybe save on shipping.
- ADC Module ADS1115 – the analog resolution and accuracy of the ESP32 is not sufficient to get the pH readings accurately so we need to use an external one.
- DS18B20 water resistant temperature sensor – we will use a mathematical formula to calculate the pH readings with a compensation of the water temperature.
- A DC power connector (type DC007B 5.5x2.1mm)
- HDR 1x3 male connectors - you can just take a long one and break it two 3s.
- 5v power supply (5.5x2.1mm) with at least 3A, please do not try to start it with the USB power because it will not work.
Tool you will need:
- A brain (any model will do).
- Soldering tools.
- A 3D printer for the enclosure.
- A bunch of M2 screws and nuts for the enclosure.
- A computer to load the software to the microcontroller.
The planned features:
- Set target pH.
- Set buffer between current and target pH.
- Temperature compensation algorithm for very accurate pH readings.
- Automatic pH meter calibration.
- Automatic Pump flow calibration.
- Dosing amount based on reservoir size.
- Dosing time (i.e check and correct every two hours).
- Manual dosing.
- Dosing test.
The software control is simple to work our way through menus and configurations on the OLED screen– three buttons – Up, Down, and Set.
Next up – the schema and code!
~Tal