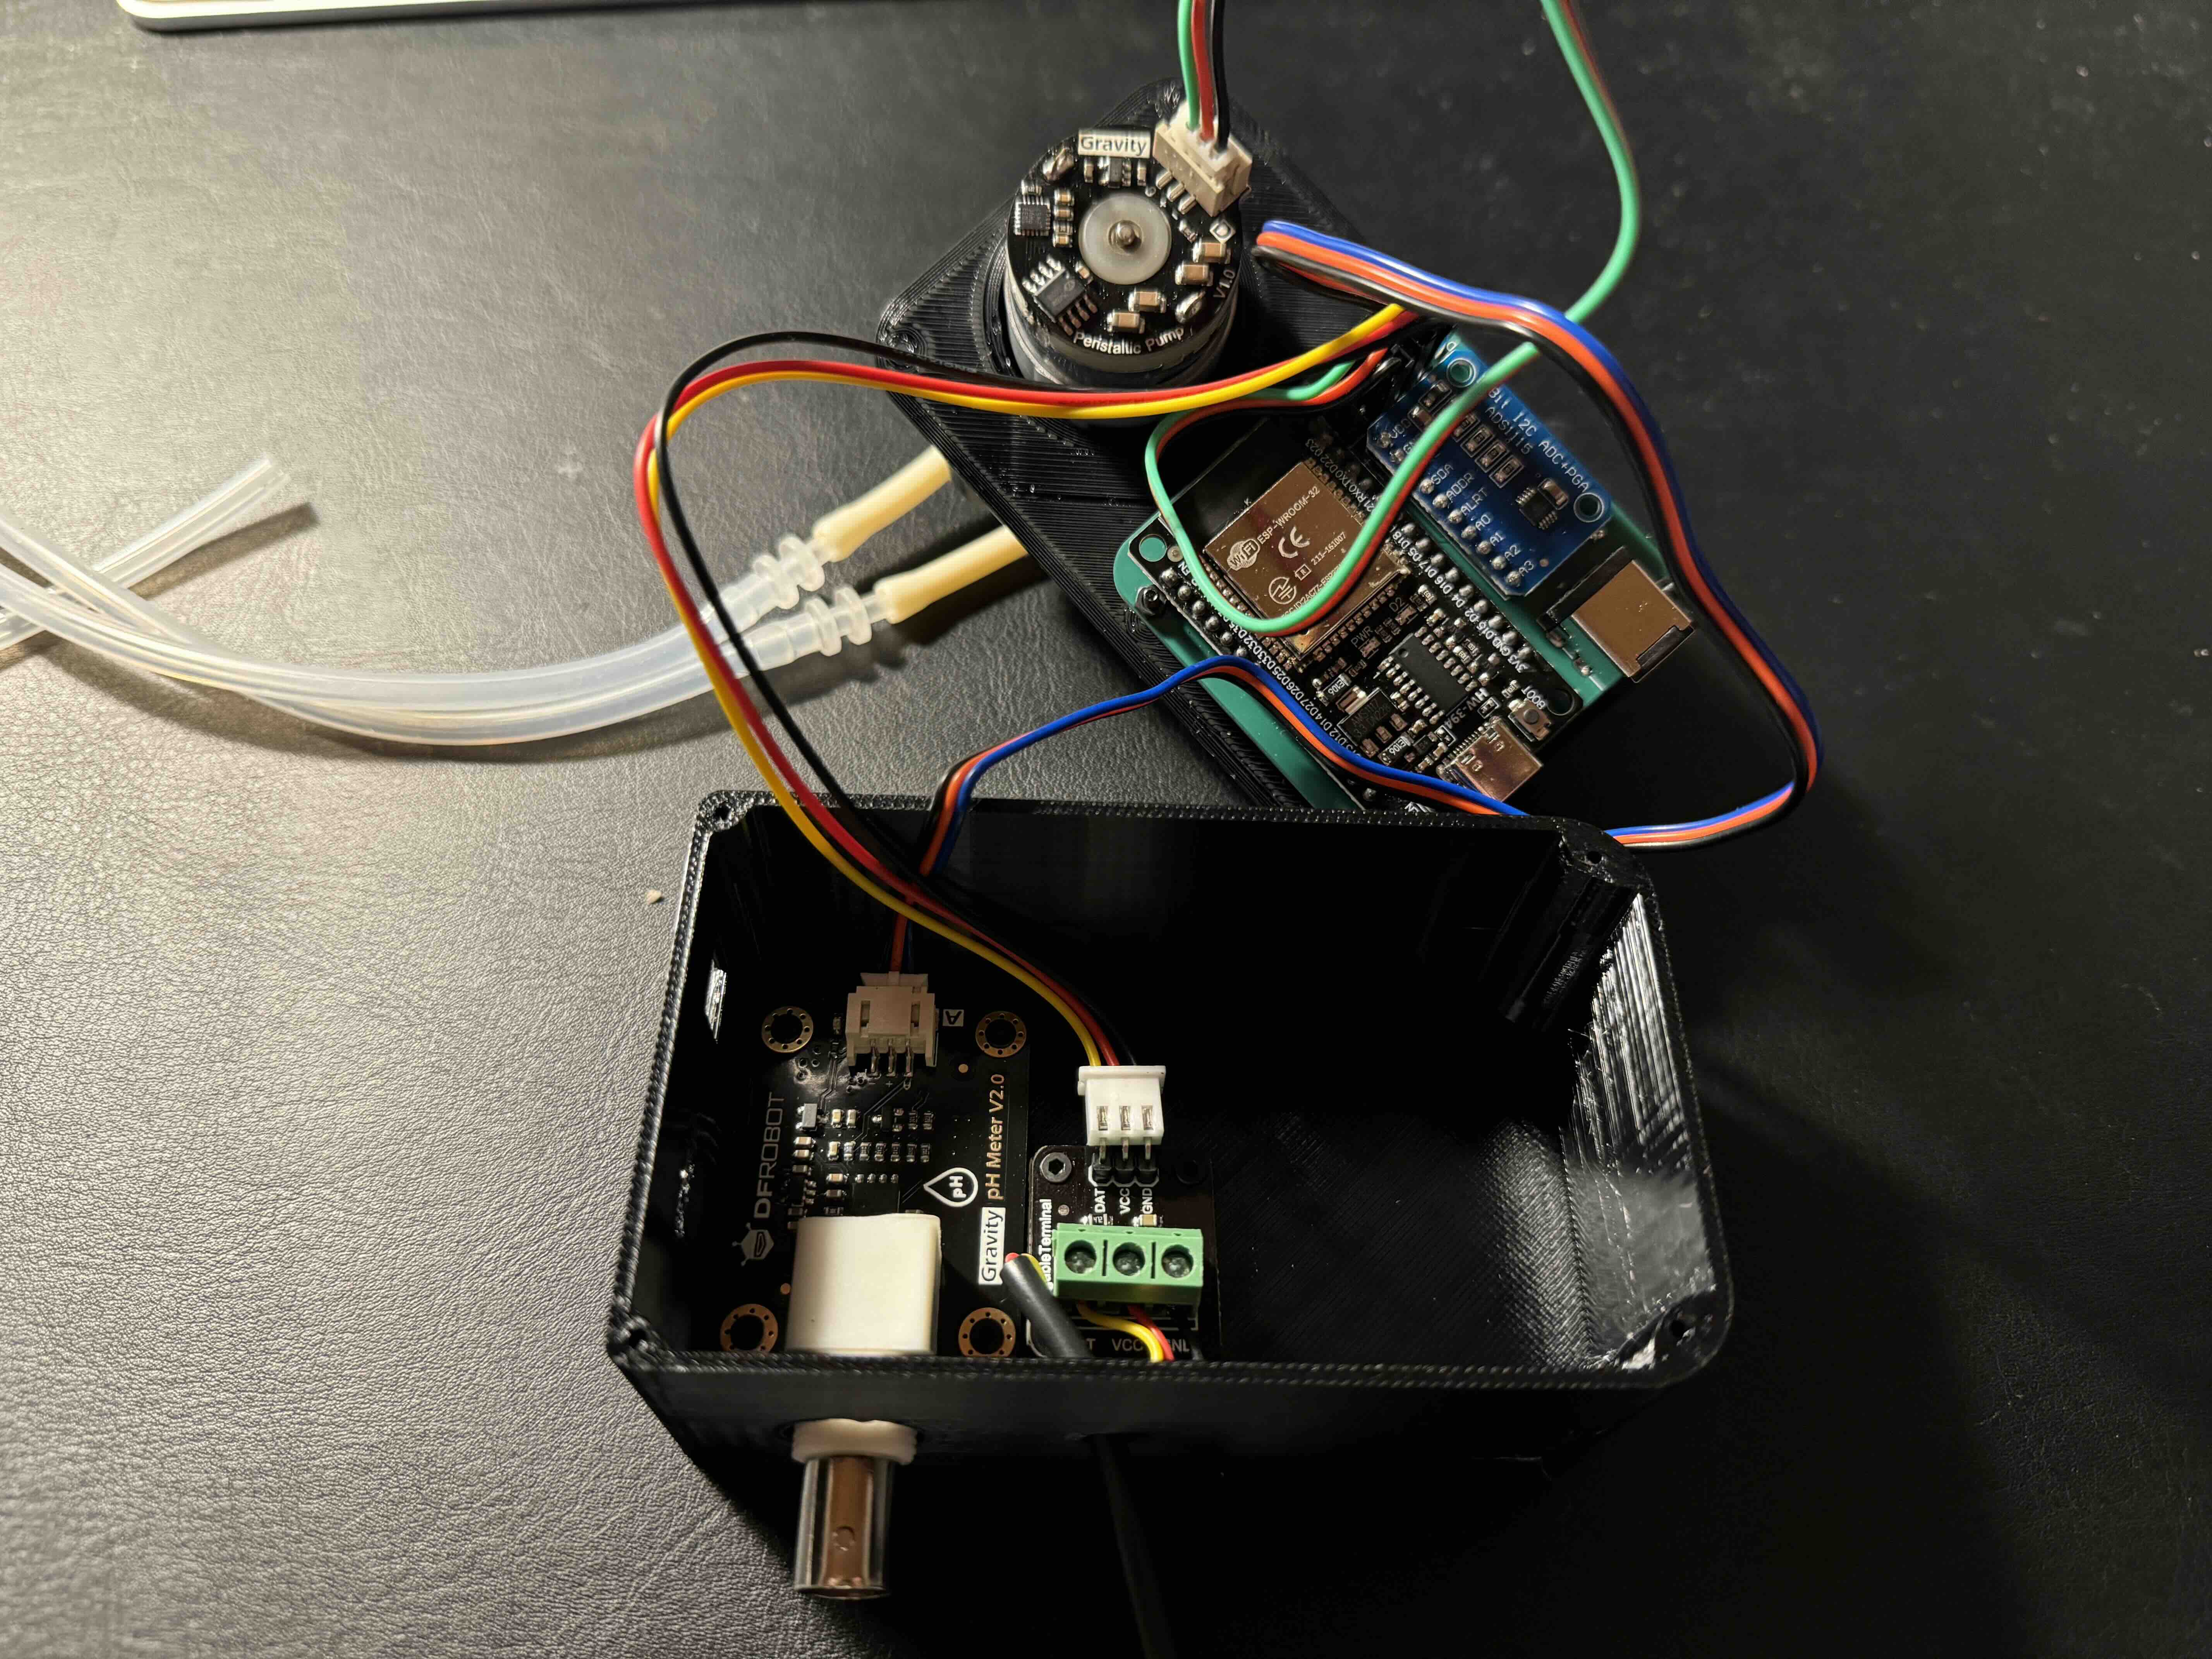
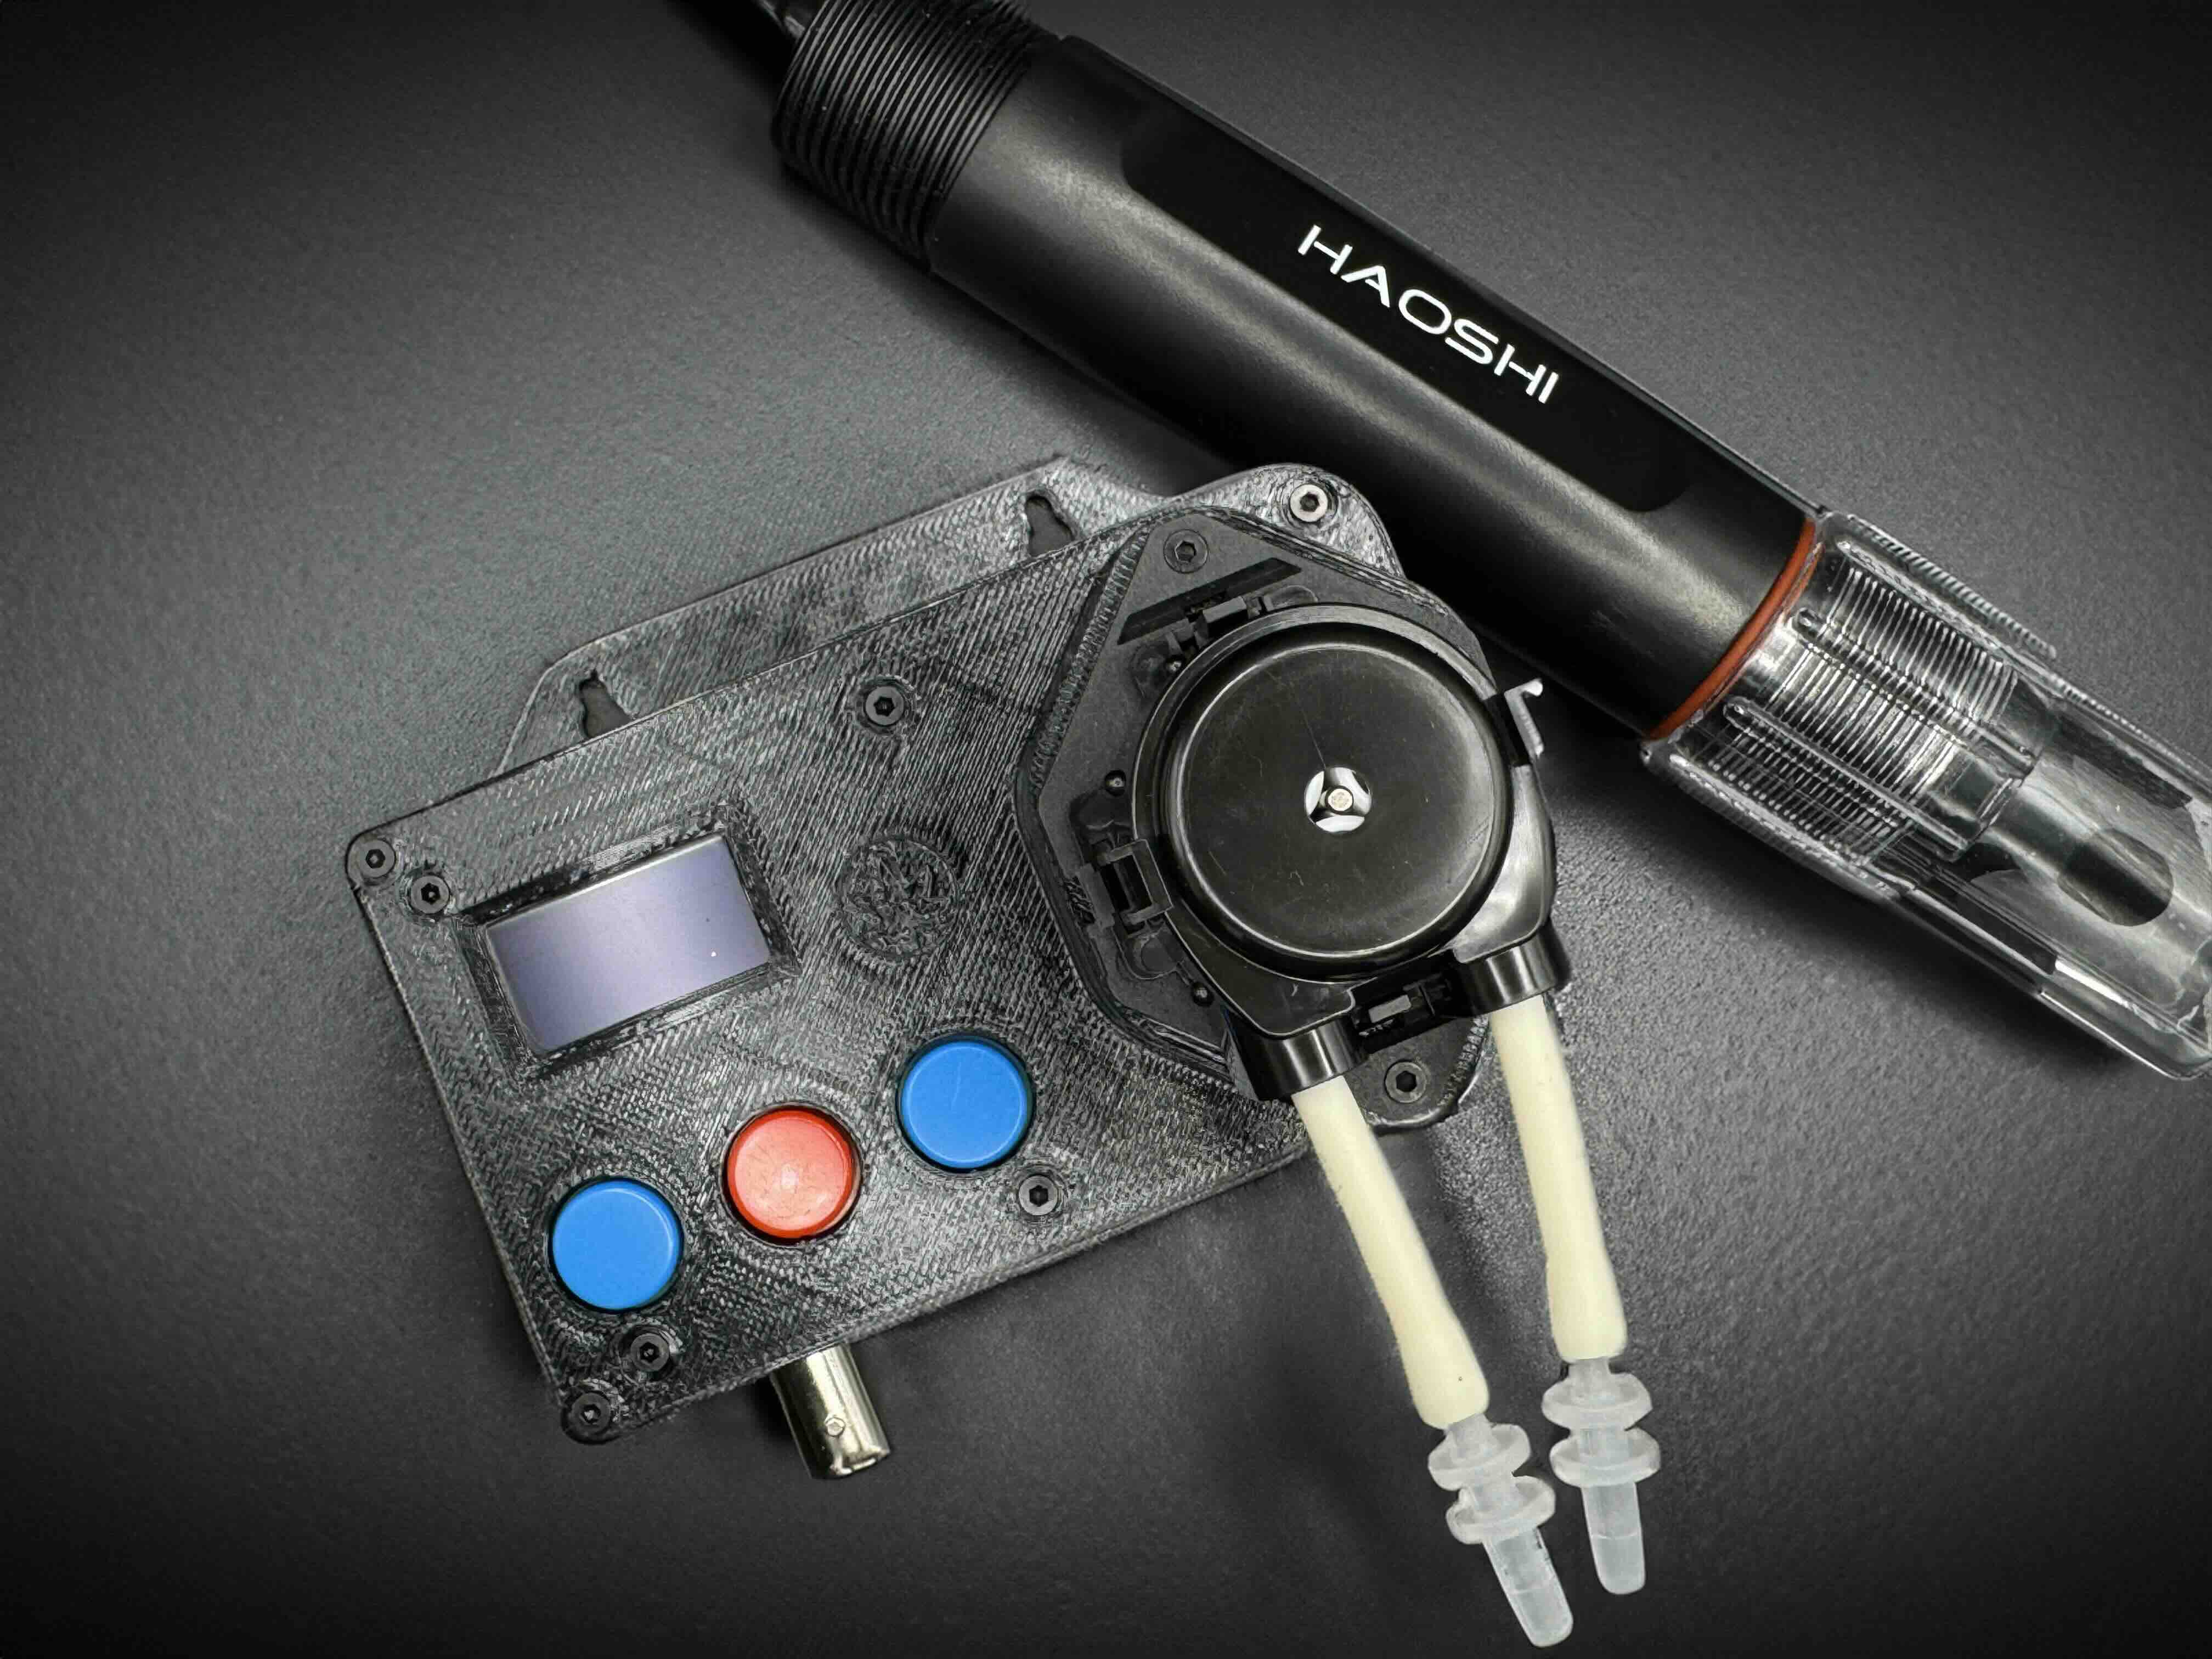
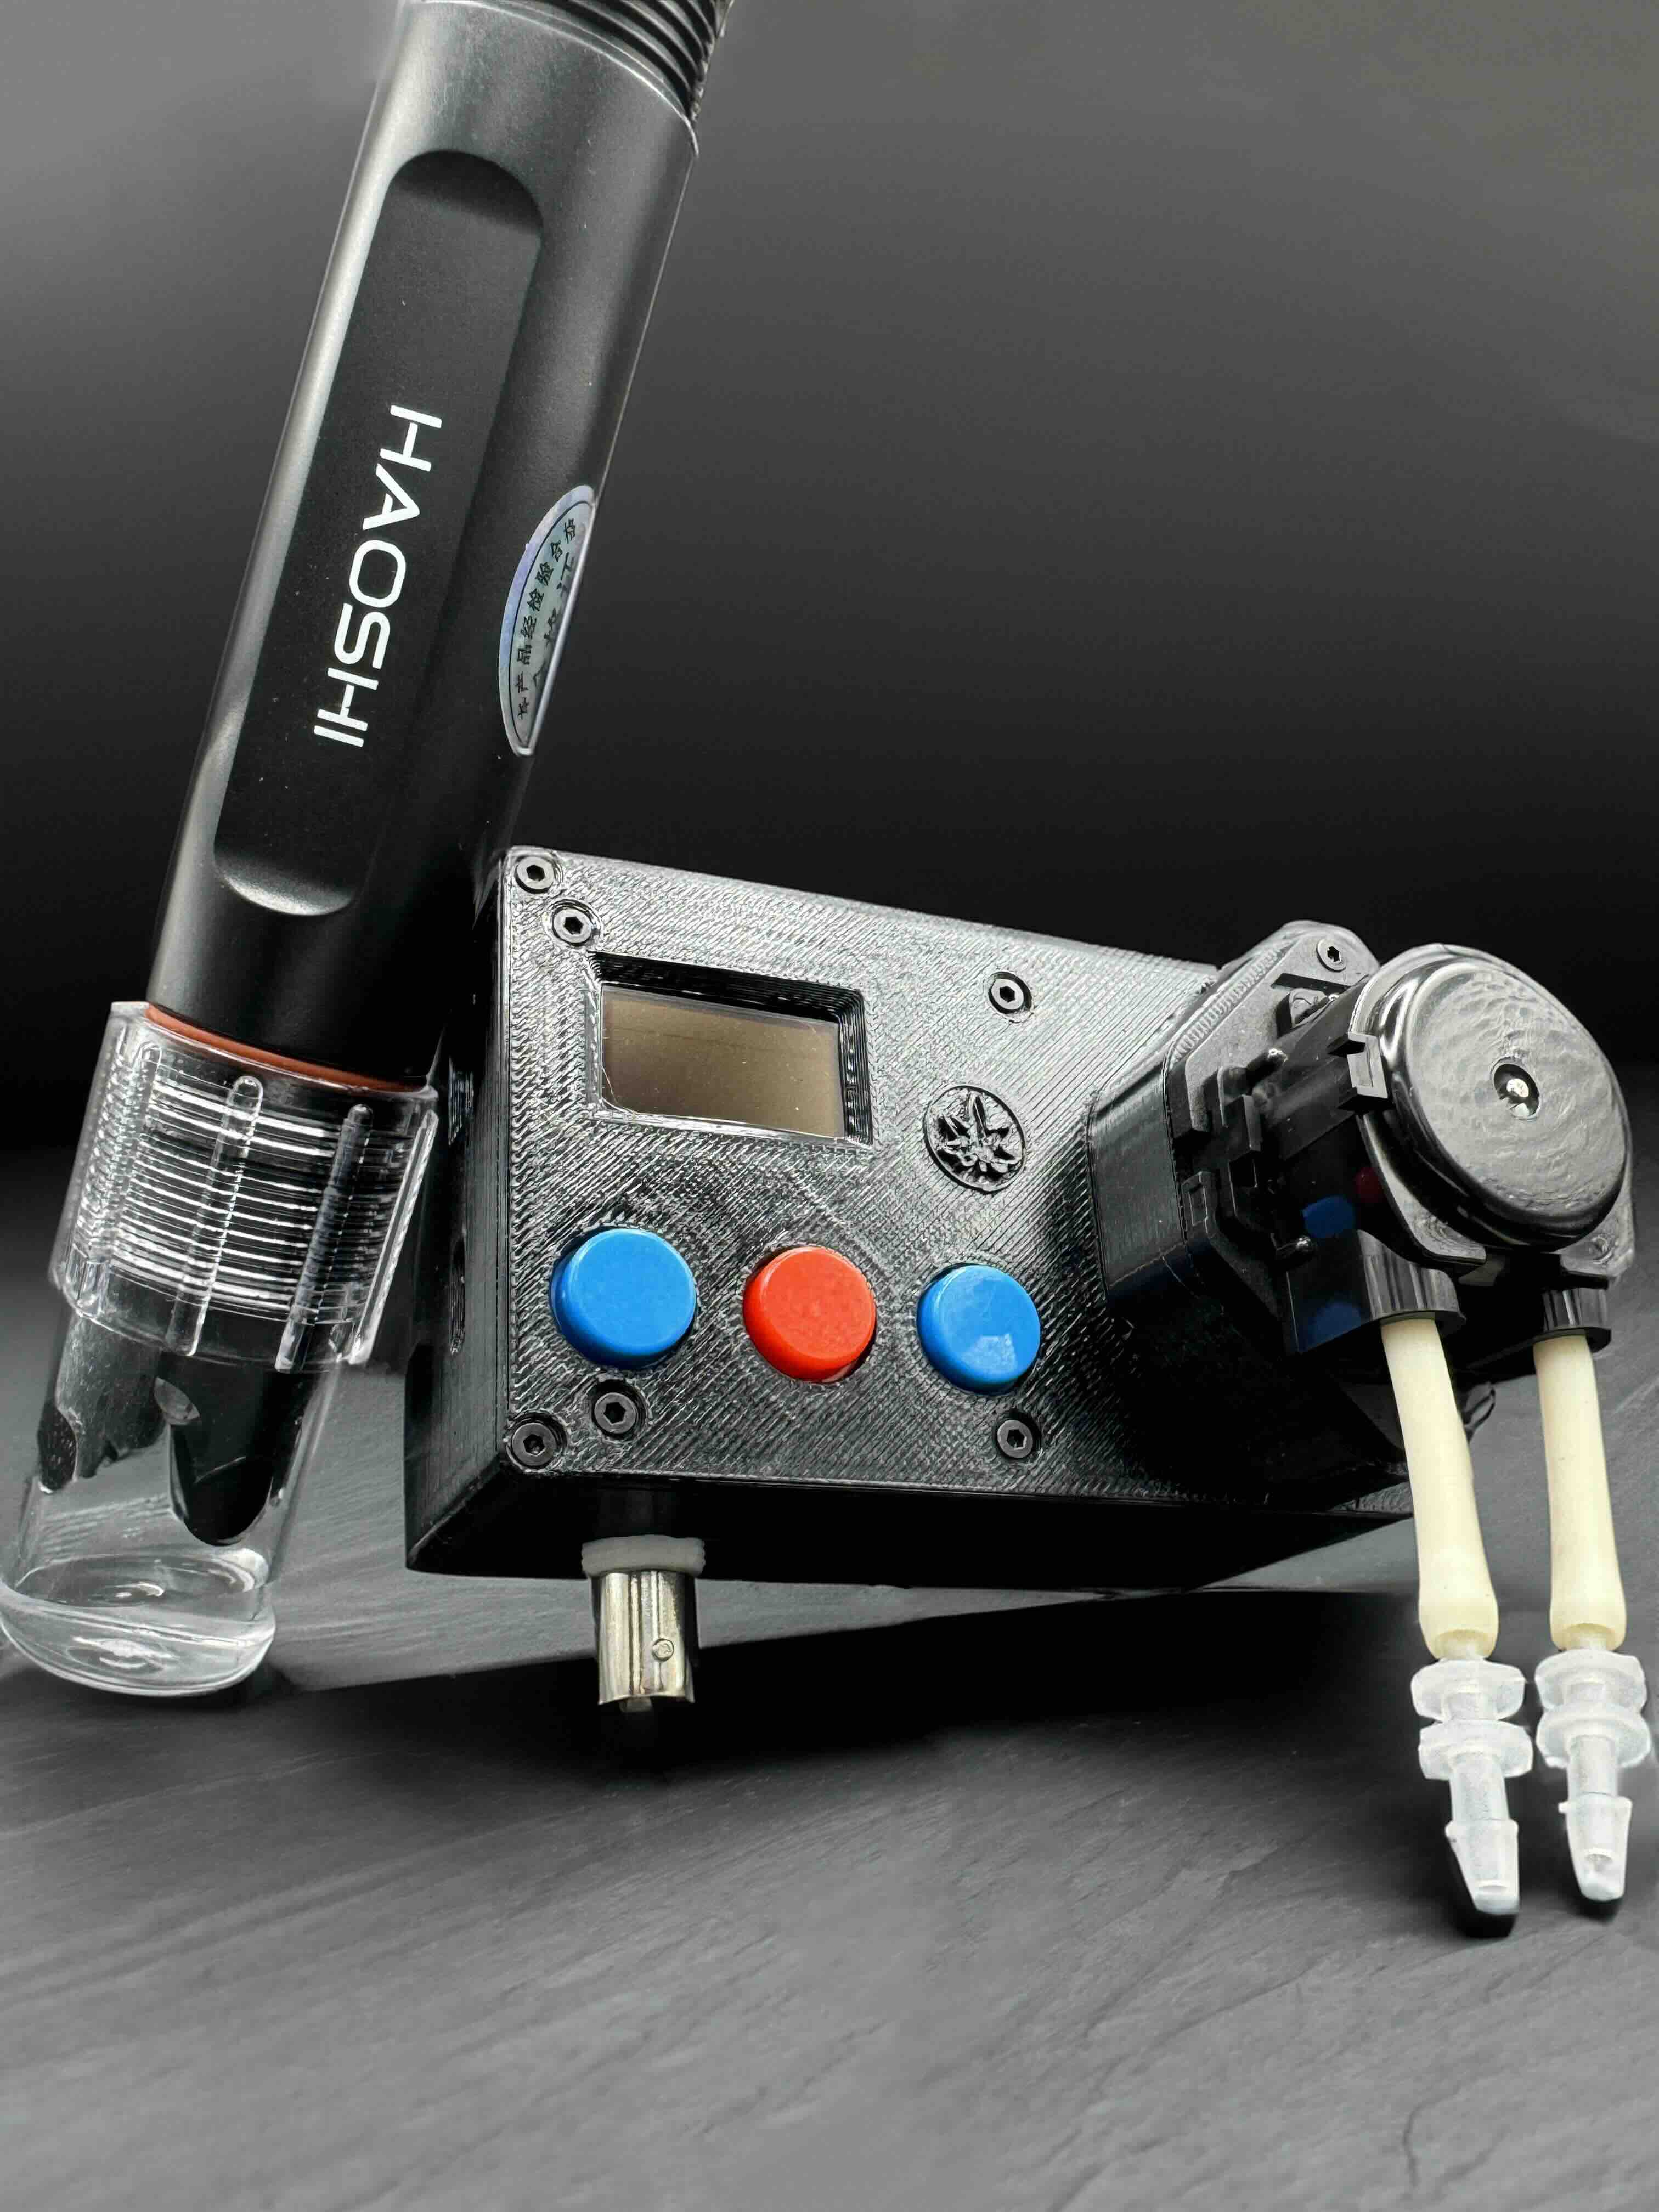
Here we are, PCBed the PCB, 3D printed the encloser, soldered everything together and lo and behold! Your own smart pH controller! Yes! in 1/5 of the cost and x5 the fun!
Note - please keep in mind that there are probably some bugs in the code, if you find one please report it in my GitHub repository
Here are some instruction for your first use:
Use only 5v power supply, with minimum 3A rating – No USB power! When in the settings menu you can always long press on the SET button to cancel and go back to the main screen.
Pump Calibration:
-
Start by inserting one end of the pump’s silicon tube to a cup with water, and the other end to a measuring cylinder (part of the kit)
-
Power up the controller by connecting it to the power supply, make sure there are readings in the main screen but ignore the values (except the temperature which should be correct).
-
Press the DOWN button (left button) and the pump should start moving liquid from the water cup – keep pressing until the water flows from the other end into the measuring cylinder.
Note – in case the pump is not moving any liquid first try replacing the ends of the silicon tubes - move the tube that was in the cup of water to the measuring cylinder, and the tube that was in the measuring cylinder to the cup of water and try again. If it still doesn’t help, make sure your power supply has a minimum of 3A rating. If it still doesn’t help, try playing with the off-white silicon tube connected directly to the pump, they are sometimes losing their flexibility due to dry conditions or age in storage. If it still doesn’t help, contact the supplier.
-
Discard all the water in the measuring cylinder, the current state should be that both ends of the silicon tubes are filled with water, so that next time the pump runs it will immediately start dosing.
-
Long press on the SET button (center button) to enter the calibration menu, and short press on the DOWN button to move to the pump settings menu. Keep pressing until the arrow on the left will point the “Calibration” setting. Short press on the SET button and follow the on-screen instructions, the pump will start dosing water to the measuring cylinder and once done using the UP and DOWN buttons set the amount of water measured in the measuring cylinder. Short press on SET to save.
-
To test the results, discard the water from the measuring cylinder, and in the same pump settings menu navigate to the “Test 2ml” and short press on SET, and again SET to confirm – the pump should dose exactly 2ml into your measuring cylinder. If not, you can do the calibration again or change the Flow Rate setting.
-
Remove the silicon tube from the cup of water and go back to the main screen by long press the SET button. Press on the DOWN button to start the pump until there are no more water inside either end of the silicon tubes.
pH Meter Calibration:
- Get 4.0 and 7.0 calibration solutions for the pH meter calibration (you can get them anywhere).
- From the main screen, long press on the SET button to enter the pH calibration screen and follow the on-screen instructions:
- Insert and swirl the pH meter probe into distilled or pure water, take it out, shake the excess water, insert the probe into the 4.0 calibration solution and short press on the SET button.
- The system will automatically recognize and show 4.0 on the screen.
- Insert and swirl the pH meter probe into distilled or pure water, take it out, shake the excess water, and now insert the probe into the 7.0 calibration solution, no need to press SET, the system will automatically recognize and show 7.0.
- you can now press on the SET button to save your calibration.
Select pH target:
The pH value that the controller will keep the water at.
- From the main screen, short press on the SET button (center button).
- Select your desired pH target using the UP and DOWN buttons.
- Long press on SET to save.
Amount:
The amount in ml for each pump dose.
- From the main screen, long press on the SET button (center button) to enter the calibration menu, and short press on the DOWN button to move to the pump settings menu. Keep pressing until the arrow on the left will point the “Amount” setting.
- Press SET and select your desired amount in ml for each dose using the UP and DOWN buttons. Note that you want to keep it as low as possible based on how string your pH Down solution is so the system will not overshoot the target pH. Don’t worry, the system will keep dosing every 20 seconds until it reaches the target pH.
- Press SET to save.
Wait Time:
Time interval in minutes to wait between each pH correction routine.
- From the main screen, long press on the SET button (center button) to enter the calibration menu, and short press on the DOWN button to move to the pump settings menu. Keep pressing until the arrow on the left will point the “Wait time” setting.
- Press SET and select your desired time in minutes using the UP and DOWN buttons. For example - my circulation pump in my reservoir turns on every two hours, hence I want the routine to start every two hours so the pH down solution will circulate in the water.
- Press SET to save.
Buffer:
Set buffer between target pH and current pH, for example if the system dosed hey way to the pH target of 6.3 , and your buffer is 0.2, then it will not kick back again until the current pH will be above 6.5.
- From the main screen, long press on the SET button (center button) to enter the calibration menu, and short press on the DOWN button to move to the pump settings menu. Keep pressing until the arrow on the left will point the “Buffer” setting.
- Press SET and select your desired buffer using the UP and DOWN buttons.
- Press SET to save
Show temperature in Celsius or Fahrenheit:
- From the main screen, short press on the UP button to change between Celsius and Fahrenheit.
FAQ:
- HomeAssistant users - the hardware already contains an ESP32 equipped with Bluetooth and WiFi - you can develop and integrate your configuration if you would like that.
- When adding pH Down solution it needs to be stirred, how does the system address that - there is a “Wait time” configuration where you can define the intervals when the pH check and adjustment will run; For example my pump in the reservoir runs every two hours, hence I set the “Wait time” to 2 hours as well so the check and adjustment will run at the same time as the pump.
- What is the overall cost to build the system ? Around 100$.
- Wouldn’t it be simpler to address your pH drift issues - Yes, but it’s not always that simple, some nutrients/additive just cause the pH to drift, along with temperature fluctuations or even just over time if you’re not home for a long period of time.
That’s it! Hope you will learn and enjoy this project as much as I do!
Until next time -
~Tal